Ditto is compatible with Windows 10 and 11. Follow the steps below to add a Ditto Windows receiver to your Ditto Account Portal.
Step 1
Download and install the Ditto Windows Receiver on your Windows device via the Ditto download page.
Differences between file types:
- AppInstaller: used primarily to facilitate the installation and updates of applications that are distributed outside of traditional app stores, such as through a website or a direct download link.
- MSIX: a modern packaging format introduced by Microsoft. It is designed to replace the older APPX format and provides benefits such as improved security, reliability, and easier distribution and updating of applications.
Step 2
Launch the Ditto Windows Receiver application on the PC. A pairing code will appear.

Step 3
Log in to your Ditto Account Portal, click on the "Receivers" tab, and click "New Receiver" (or “Add Your First Receiver” if you haven’t added a receiver yet).

Step 4
Enter the pairing code and click "Pair Receiver."
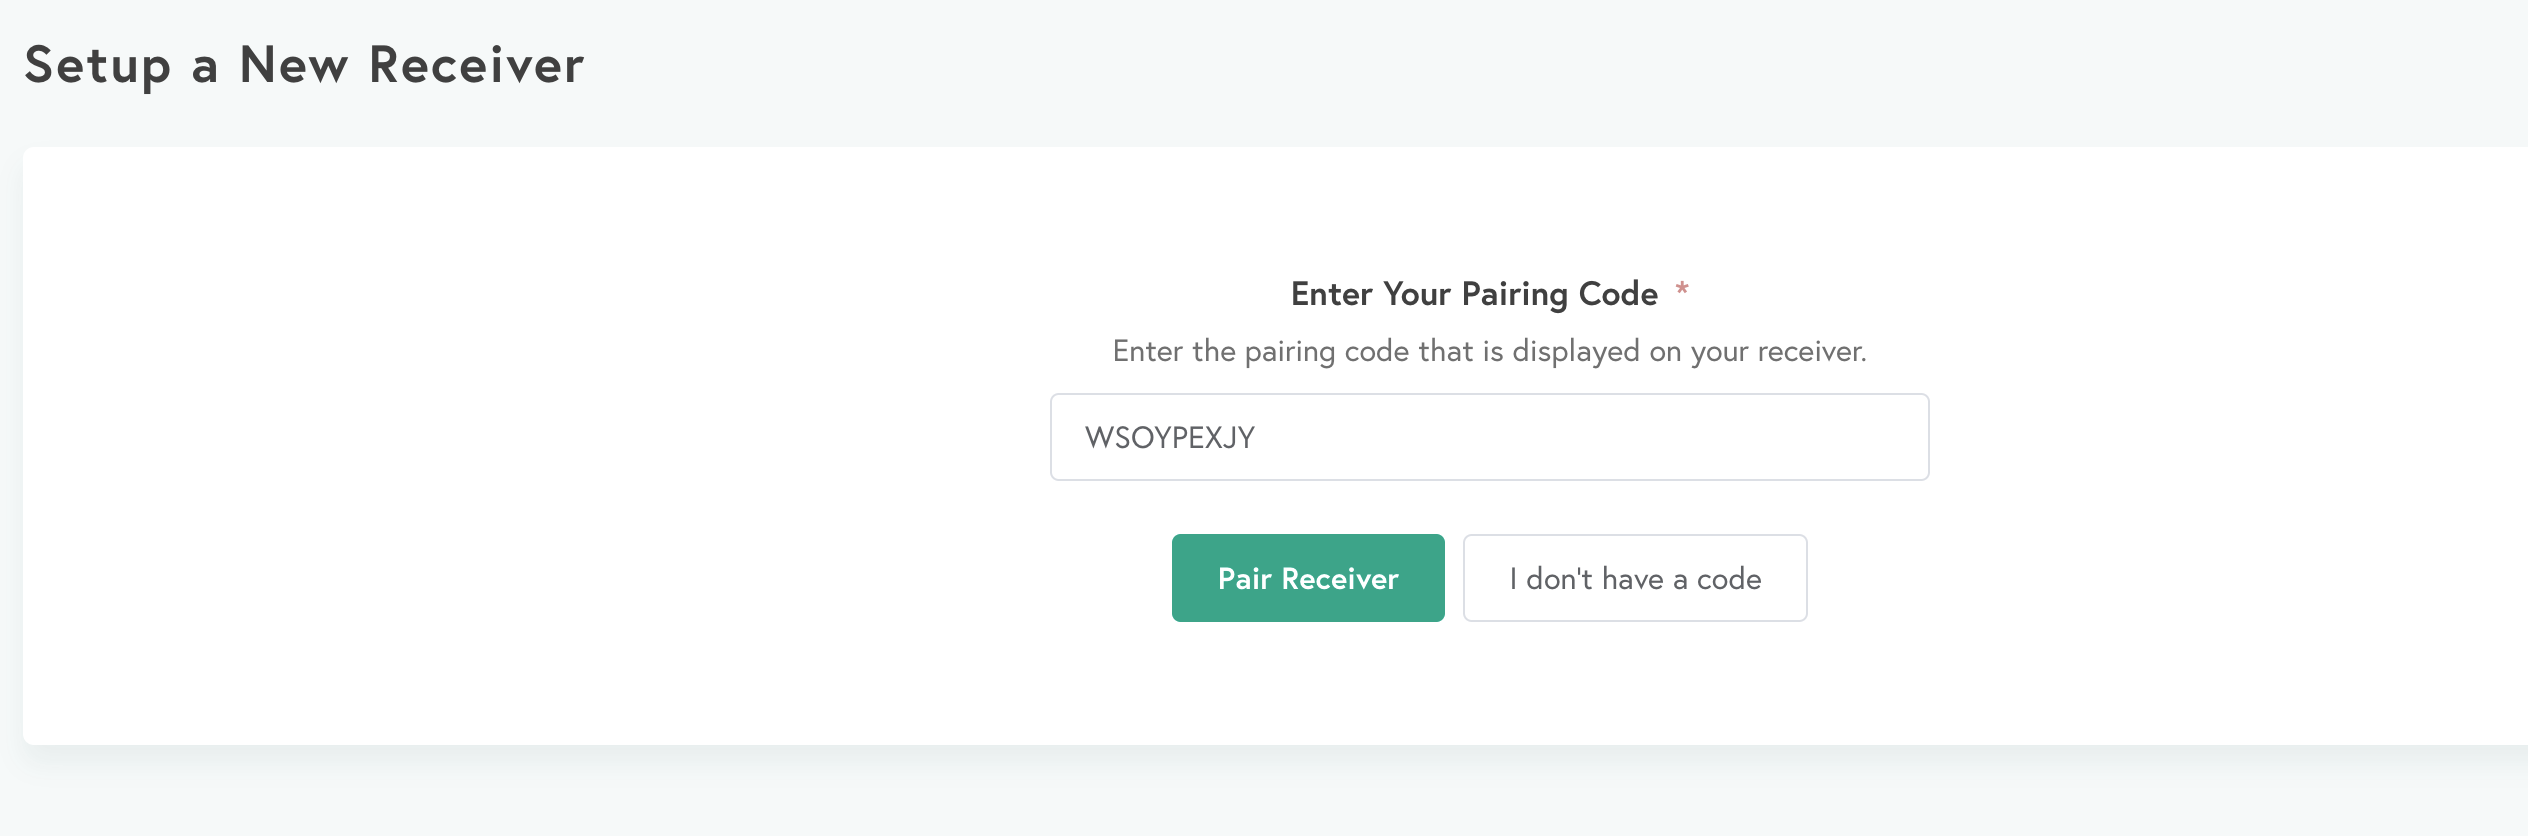
Note:
If you have not previously added a receiver to your Ditto account, you will have to first select "Windows" before entering the pairing code.
Step 5
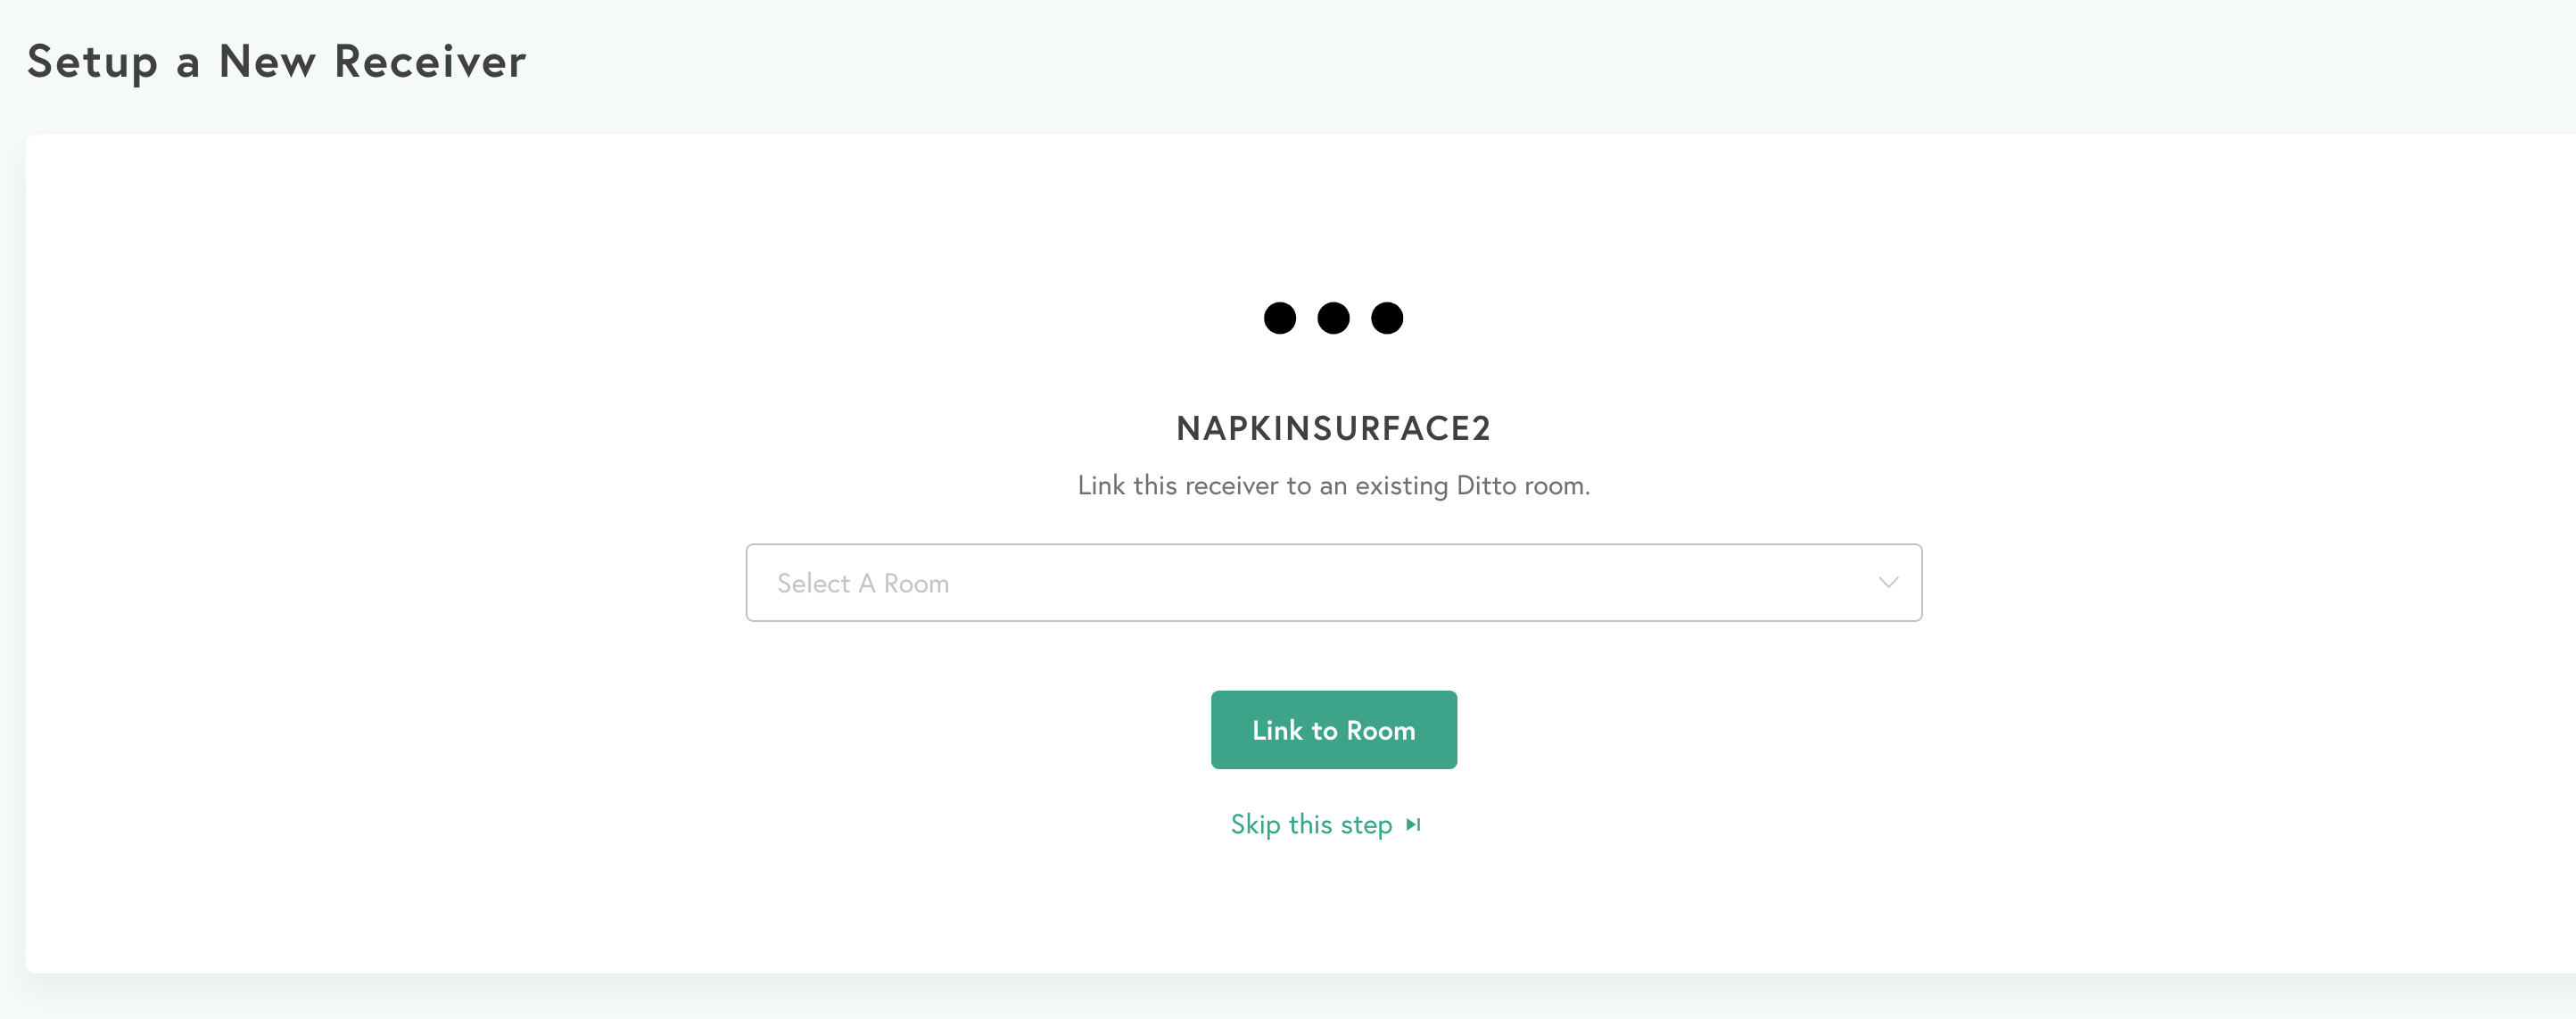
That's it! Your Windows device will be paired to your Ditto account as a receiver. Next, add the receiver to a room. Learn how to set up rooms.
Note:
You may create as many receivers as you want. You are not billed until you pair a room to a receiver to create an active room.
Once you pair a receiver to a room, you're ready to connect to the room or create connection instructions for your users.