Customize the connection page URL
Ditto allows you to direct a subdomain to your custom Ditto connection page. You can follow the steps below to set up a custom connection page URL.
Note:
- Forwarding with masking is not supported with Ditto.
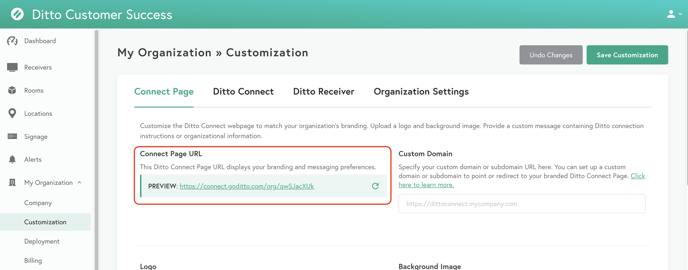
Step 1 - Find your custom Ditto connection URL
To start, you will need your custom Ditto connection page URL. You can find this in the Ditto account portal under the Customization section.

Step 2 - Change your DNS settings
Warning:
DNS changes should only be made by a professional. Ask your host for assistance if required.
Below are helpful links with instructions for changing your DNS settings. Instructions are specific to your DNS provider.
Provisioning Time
Note: Forwarded domains or subdomains can take up to 24-48 hours to activate.
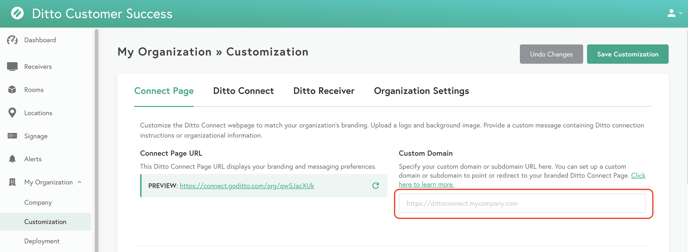
Step 3 - Add the URL to your Ditto account
Once you've changed your DNS settings, make sure you enter your newly created URL in your account portal. The URL is displayed to users as part of connection instructions in the Ditto Receiver applications and on room signs.

