Create your first Ditto digital signage List
Ditto digital signage Lists contain your digital signage items. This is where you add, create, edit, and schedule digital signage. To get started with Ditto digital signage, you must first create a signage list in the Ditto Account Portal.
Step 1
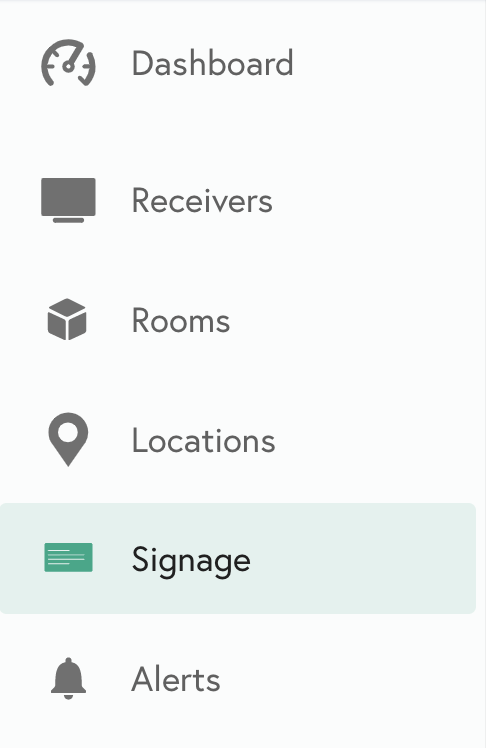
Log in to the Ditto Account Portal and click the "Signage" tab.

Step 2
Click the “New List” button

Step 3
Add a name for the list and assign the list to your desired Ditto rooms.


Note:
- Users with a signage user role will be required to assign the new list to a Ditto room before the list can be saved.
- Ditto administrator users can create signage lists without assigning them to Ditto rooms.
- For steps on how to set up a Google Slides list, please click here.
Step 4
Select your newly created list from the menu and then select the Signage Items tab


Step 5
Select New Item

Step 6
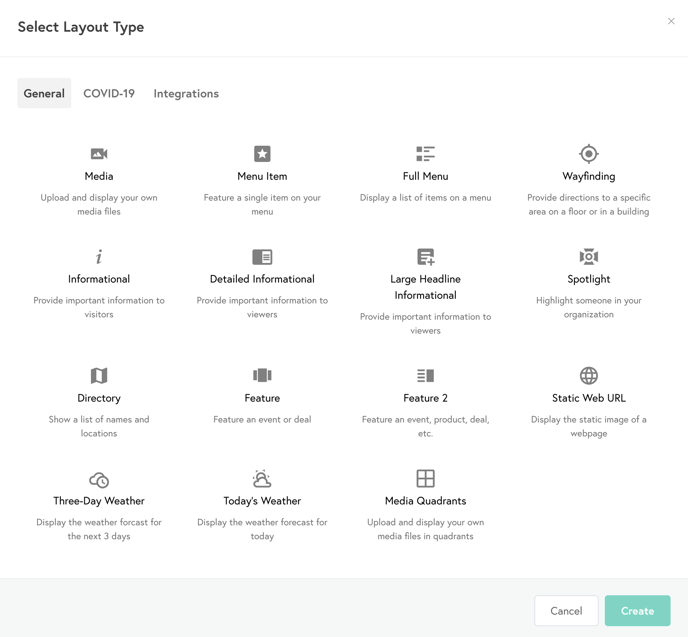
Choose from one of the provided templates or upload custom content with the Media template.

Step 7
Once your signage item is created, select Save Signage.


Success! Your Digital Signage items will start displaying on the Ditto Rooms assigned to the list.
Step 8 (optional)
Todd additional signage Items to a list, click on the signage List, and click "New Item"
