Mass Deployment options are only available for Ditto Premium and Elite plans. Ditto Basic plans can be upgraded in the Billing section of your Ditto Account Portal.
This guide allows Ditto and Mosyle administrators to deploy the Ditto tvOS receiver across multiple supervised Apple TVs simultaneously. It is broken into 3 general sections:
The instructions below assume/require:
- Your Mosyle account has been linked with Apple Business Manager VPP.
- The devices have been enrolled in Mosyle.
Setting up a New Profile
Step 1 - Open the "Management" tab

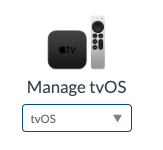
Step 2 - Select "tvOS" in the dropdown in the upper left corner of the menu page
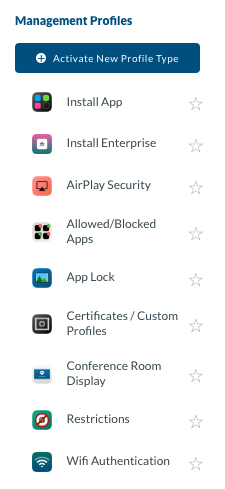
Step 3 - Click "Install App"

Step 4 - Click "Add New Profile"


Step 5 - Name the profile
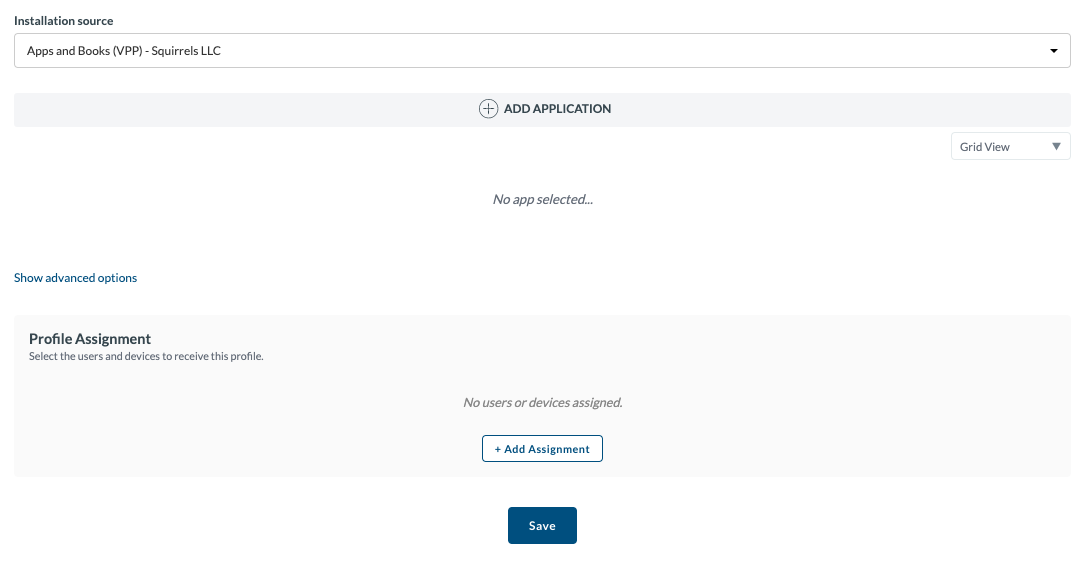
Step 6 - Select the VPP installation source
 Step 7 - Click "+Add Application"

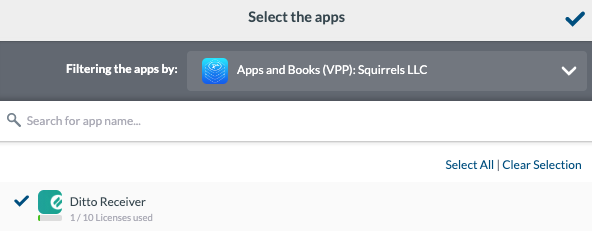
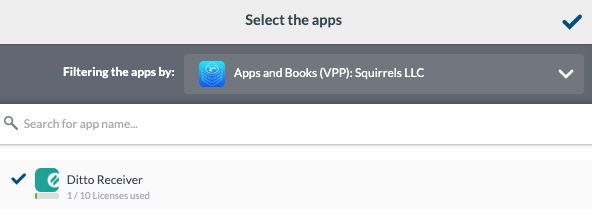
Step 8 - Select "Ditto Receiver" then click the checkmark to apply
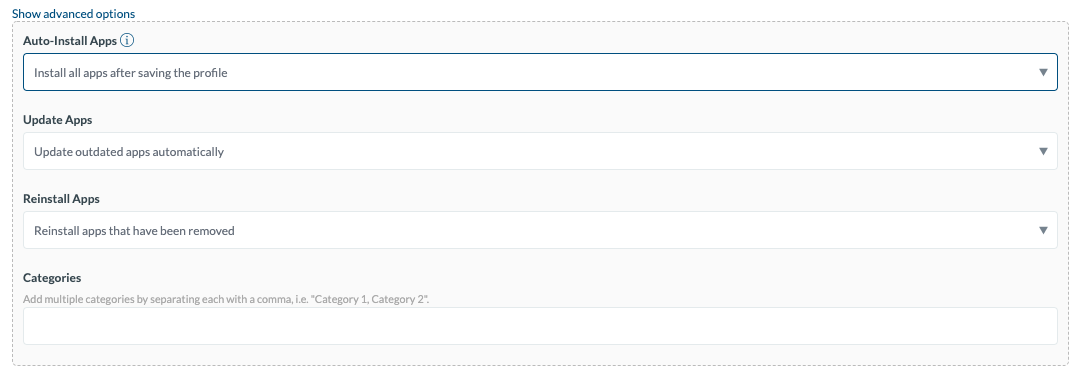
Step 9 - Click "Show Advanced Options" and ensure "Install All Apps after Saving the Profile" is enabled

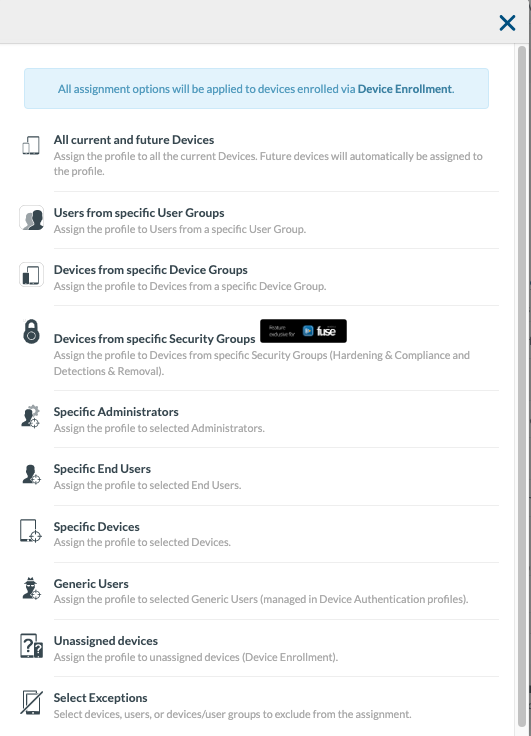
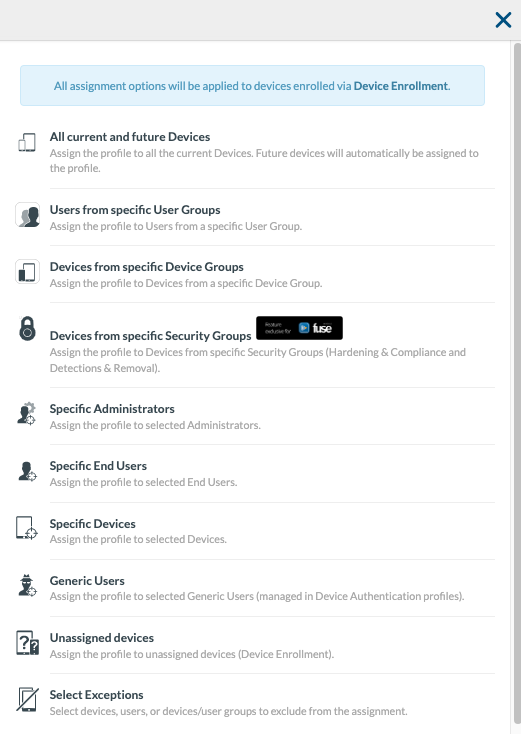
Step 10 - Click "+Add Assignment" and add your devices
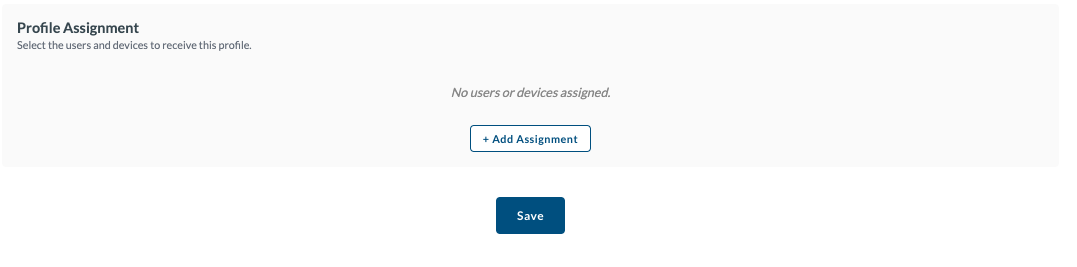
Step 11 - Click "Save"
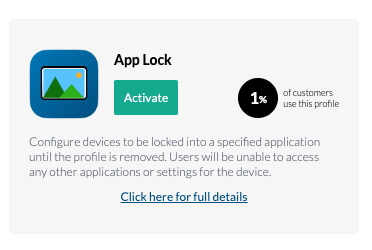
Enabling App Lock
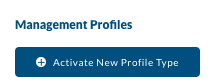
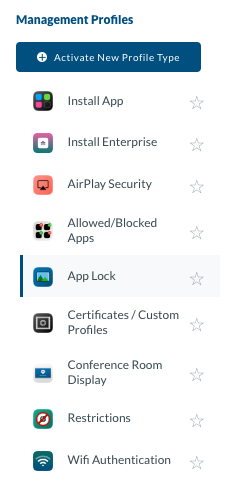
Step 1 - Click "Add New Profile Type"
Step 2 - Select "App Lock" and click "Activate"
Deploying the Profile
Step 1 - Click "App Lock" on the left side menu
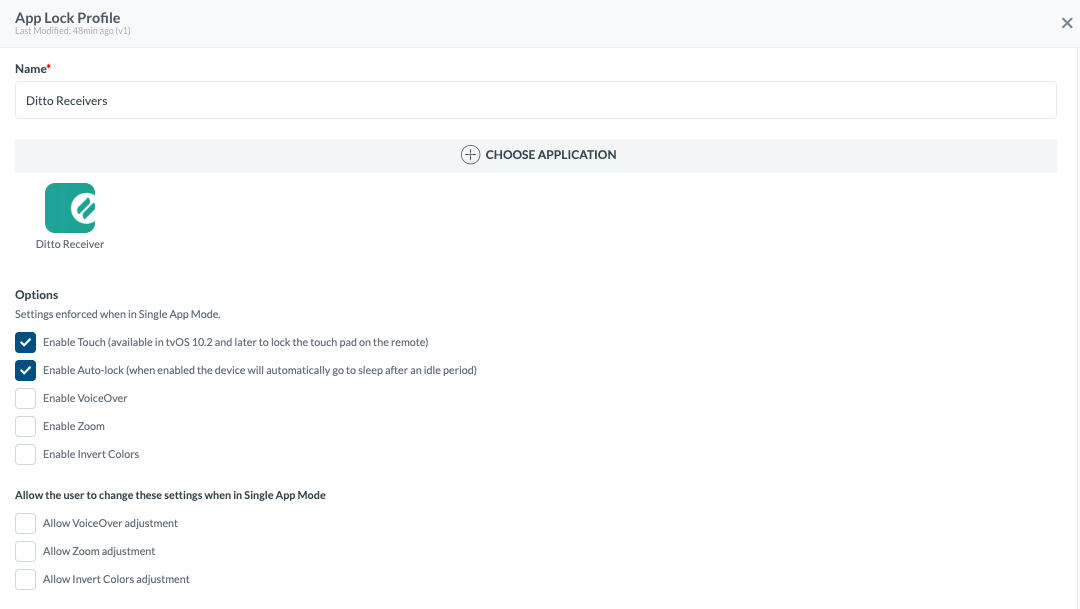
Step 2 - Click "Add New Profile" and name the profile

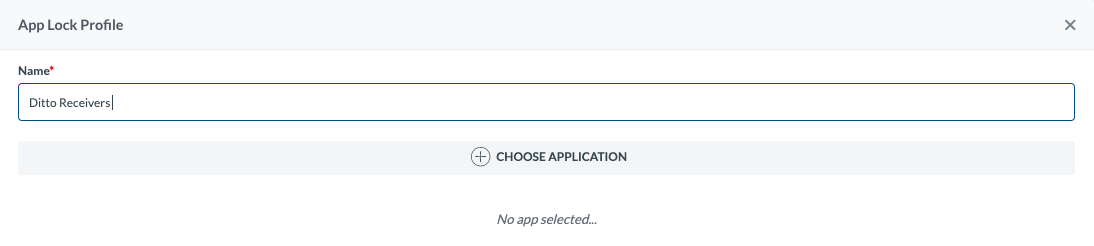
Step 3 - Click "Choose Application"

Step 4 - Select the VPP source in the upper right dropdown

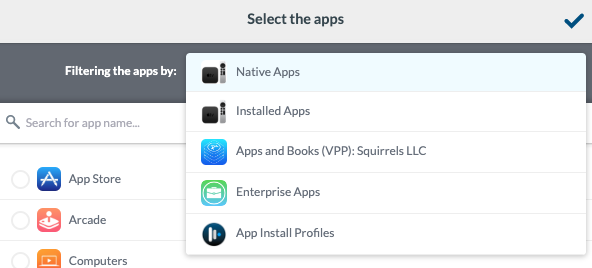
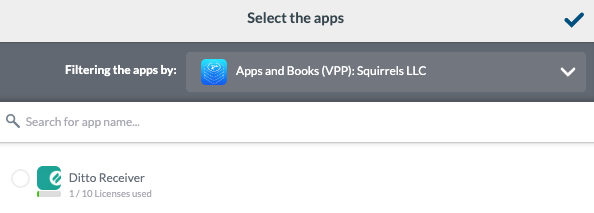
Step 5 - Select "Ditto Receiver" then select the checkmark in the upper right corner
Step 6 - Enable or disable any desired options
Step 7 - Choose "Fulltime 24/7" or add scheduled times to lock in the application

Step 8 - Click "+Add Assignment" and assign your devices
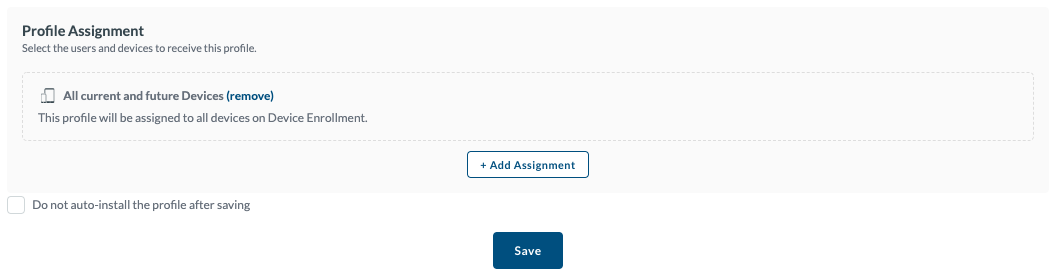
Step 9 - Click "Save"