How can I use video files with digital signage?
Ditto offers a number of ways to implement video with digital signage. Below you'll find what types of videos you can use with digital signage and how these files can be used.
- Supported file types and restrictions
- Supported receivers
- How to upload videos for digital signage
- Schedule and organize digital signage
- Loop videos used for digital signage
- Looping vs. scheduling
- Synching digital signage items
Supported file types and restrictions
You may upload the following file types:
- PNG
- JPG
- GIF
- MP4
Note:
Uploaded files may not be larger than 300MB.
Supported receivers
Digital signage with Ditto requires the Ditto Receiver application. This is a tvOS and Windows application that runs on receivers connected to TVs, projectors and other displays. The following receivers are compatible with the Ditto Receiver application:
- Apple TV 4K
- Apple TV HD
- Windows devices
Download Ditto Windows Receiver and Ditto tvOS Receiver here.
Note:
Legacy receivers do not have the ability to run digital signage.
How to upload videos for digital signage
Uploading videos for digital signage is easy. Follow these steps to upload your files and prepare them for display.
Before you begin:
Ensure you have completed the following in the Ditto Account Portal:
Once you’ve added and linked a room with a receiver, you can begin using digital signage.
Step 1
Create a digital signage list. A list organizes your signage content in the Ditto Account Portal. Learn how to create your first list here.
Step 2
After you’ve created a digital signage list, upload your media. See how to upload media here.
Step 3
Once you've uploaded and saved your media items, click on the name of your signage list and click "Save List." Ditto may take a moment to build your media items or signage list.
Your digital signage content will now be displayed on your receiver.
Schedule and organize digital signage
With Ditto, you can schedule start and end times for your digital signage, set the duration of each piece of content and organize your items in the signage list. Follow these steps to schedule, organize and organize digital signage content here.
Loop videos used for digital signage
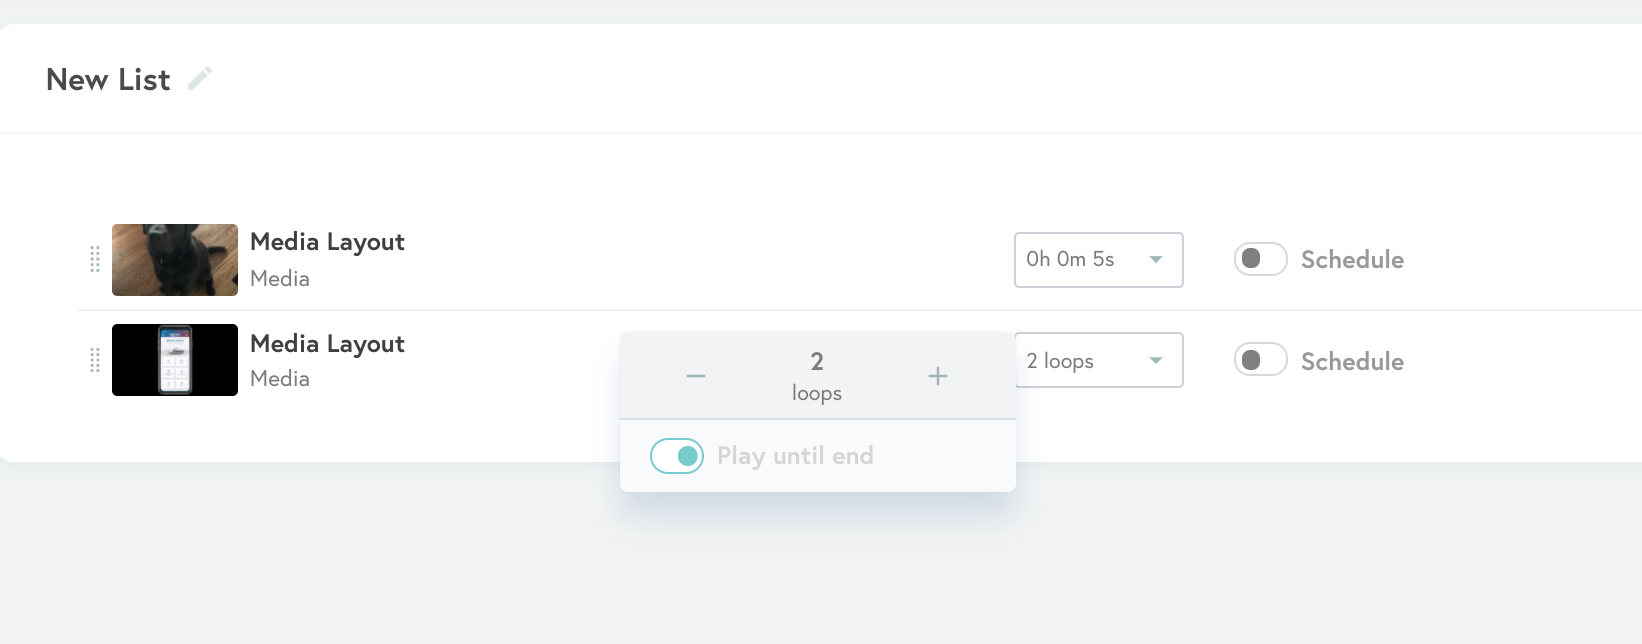
You can loop videos for a specific duration before your signage moves to the next item of content in a list. Select the number of loops you prefer in the dropdown next to your video.

Note:
If you'd like a single video to loop infinitely, you can do this by creating a list with a single video file. When the video finishes, it will start over.
Looping vs. Scheduling
Looping indicates how many times a video in a list will play before your signage displays the next item of content in the list.
Scheduling indicates the specific point in time when an item in a digital signage list will be displayed on your receiver.
Synching digital signage items
When sending digital signage content to more than one receiver, syncing these items will depend on the internet connection on the network and when the items are first downloaded to the receiver. Once the items are downloaded to the Ditto receiver, the items will start playing immediately as digital signage.
Pro-Tip
To ensure all items are synced you can schedule each item to start displaying at the same scheduled time. This will ensure all signage items are synced on the Ditto Receivers at the same time. Once the items are synced you can disable the scheduled start time for the items.
Top
